The Art of Lighting in Video Production:
Illuminating Tips from the Diary of a San Diego Video Production Crew
By Patty Mooney
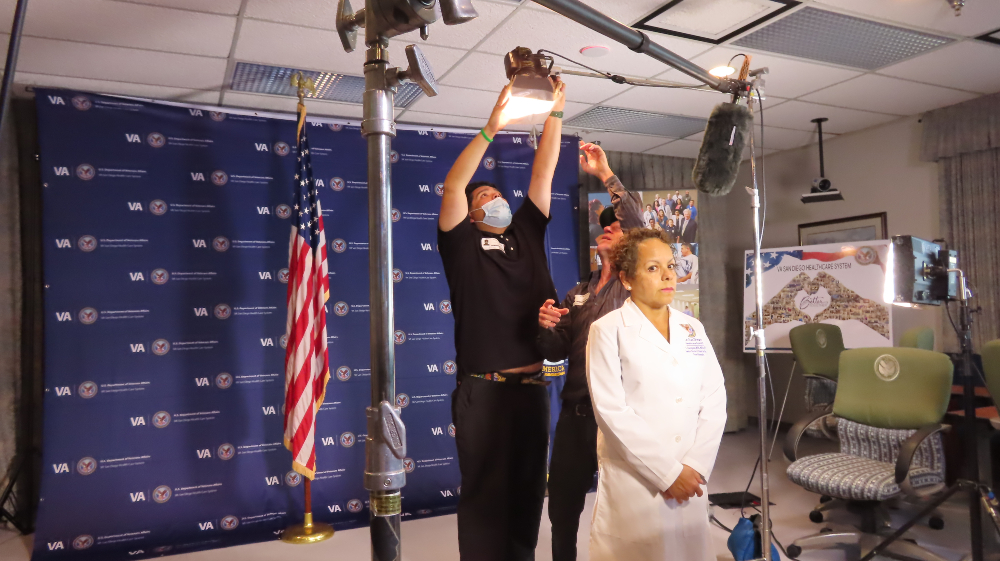
Welcome to another entry in the Diary of a San Diego Video Production Crew. Today, we’re shedding light on an essential yet often overlooked aspect of video production – lighting. Whether you’re a budding videographer or a seasoned pro, understanding the nuances of lighting can transform your videos from good to great. Let’s dive into the art of lighting and explore some practical tips to enhance your video production.
 1. Understanding Lighting Basics
Lighting is more than just making sure your subjects are visible. It’s about setting the tone, creating the mood, and directing the viewer’s attention. Three-point lighting is a fundamental concept every videographer should master. This setup includes a key light, a fill light, and a backlight:
-
Key Light: This is your main light, usually placed at a 45-degree angle to the subject, and it should be the brightest to highlight the form and dimension of the subject.
-
Fill Light: Positioned on the opposite side of the key light, the fill light helps eliminate harsh shadows caused by the key light. It’s usually less intense and softer.
-
Backlight: Placed behind the subject, the backlight helps separate the subject from the background, adding depth and dimension to the shot.
2. Color Temperature Matters
Color temperature is crucial in setting the mood of your video. Measured in Kelvin, color temperature ranges from warm (yellow/orange) tones to cool (blue) tones. Daylight is balanced at around 5600 Kelvin, which is considered a neutral starting point. Using warmer lights can give your video a cozy, intimate feel, while cooler lights can create a more sterile or somber atmosphere.
3. The Magic of Soft Lighting
Soft lighting can be your best friend, especially in interview settings or dramas. It flatters subjects by reducing the appearance of imperfections and creating a gentle transition between shadows and highlights. You can soften light using diffusers—translucent materials placed in front of your light source. Soft boxes, umbrellas, and even a piece of white cloth can work as diffusers.
4. Utilizing Natural Light
Don’t underestimate the power of natural light—it’s free and often beautiful. The golden hours, just after sunrise or before sunset, provide soft, diffused light that can add a magical quality to your shots. However, be mindful of the sun’s position; using reflectors can help manage shadows and highlight your subject more effectively.
5. Lighting for Different Genres
Each video genre might require a different approach to lighting:
-
Documentaries: Often use a more naturalistic approach to lighting, keeping it truthful to the environment or subject matter.
-
Commercials: Typically feature more dynamic and stylized lighting to sell a product or idea.
-
Corporate Films: Use lighting to tell a company’s story, showing off services and/or products.
6. Experiment and Learn
Each project is a new opportunity to experiment with different lighting setups. Don’t be afraid to try new techniques. Sometimes, the most innovative lighting setups come from breaking the traditional rules.
7. Keep Learning
The world of lighting is ever-evolving, with new technologies and techniques emerging regularly. Keep up with the latest trends by attending workshops, watching tutorials, and practicing as much as possible.
Final Thoughts
Mastering the art of lighting takes time and practice, but it’s worth every effort. Good lighting not only enhances the visual appeal of your videos but also supports the storytelling, setting the tone, and evoking emotions from your audience. So next time you set up for a shoot, remember these tips and watch your work illuminate before your eyes.
Stay tuned for more insights from our diary, as we continue to explore the intricacies of video production. Happy shooting!